


Drawing Over an Image With PencilKit
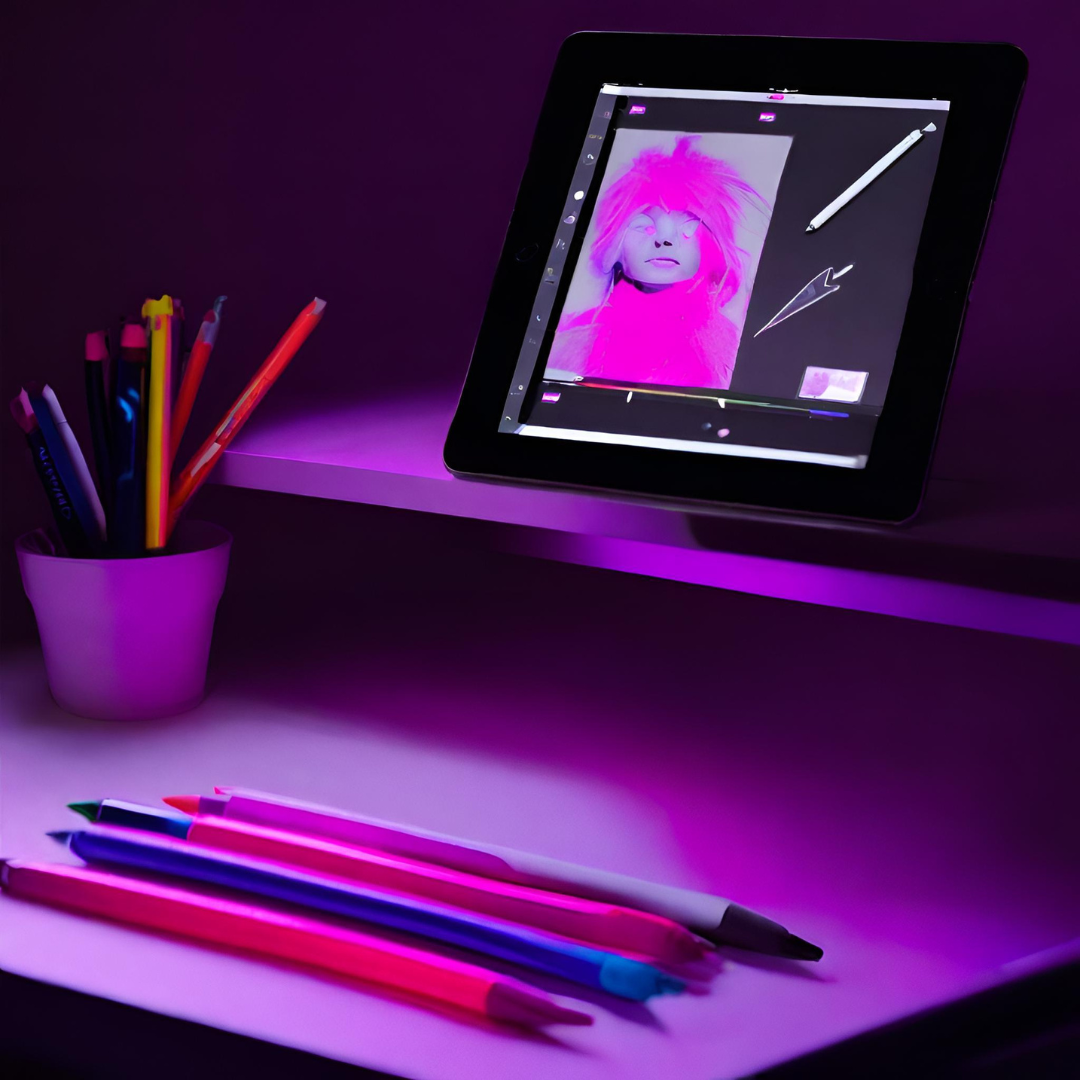
A few weeks after the launch of iOS 13, a client asked us to change the existing Photo Markup Kit in our app to Apple’s inbuilt PencilKit. As PencilKit might be new to you, we’ve created a guide that introduces you to PencilKit. For reference, PencilKit looks the same as the below image:
An Introduction To PencilKit
PencilKit allows developers to easily integrate the drawing canvas view and toolkit in their applications. It makes easy to incorporate hand-drawn content into iOS apps quickly and easily. PencilKit also creates a `Canvas` to draw over it with various given tools.
PencilKit provides various tools for markup, such as:
1. Eraser Tool: Using this tool, users can delete a specific object or some part of the object drawn on the Canvas.
2. Inking Tool: This includes pen, marker, and pencil for different kinds of sketches. Users can select different colors available for the inking tool.
3. Lasso Tool: This tool is a selection tool for selecting a drawing area. Additionally, it gives a context menu that allows cut, copy, paste and duplicate the selected drawing.
Getting Started
Problem Statement
Our goal was to use PencilKit to draw markups over a selected image in our app and save the image with the drawn markups.
Findings
We read many tutorials and watched several videos to understand the working implementation of PencilKit. All the tutorials we went through were explaining the use of PencilKit to draw over a blank canvas and save the drawing. But we did not find anything related to draw over an existing image using PencilKit and save the image with drawn markups.
We went through the implementation details of PencilKit given in Apple Developer Documentation. We also looked into its classes, sub-classes, and properties to find a way to insert an existing image in PencilKit’s `CanvasView` and get the output as a marked-up image. After this research we concluded the following:
- PencilKit creates a separate window for tool picker, over our current window.
- PencilKit’s ‘CanvasView’ has many sublayers and has a complex structure.
- No similar third party tool with the same feature was found.
Available Approaches
We discussed in a team and decided that we will try to build a custom solution for Image Markup using PencilKit.
After discussion and research we finalized two approaches for implementation:
- We will try to insert an ImageView in PencilKit’s CanvasView as a SubLayer, and get the output as a Markup Image.
- Place a transparent Canvas over an ImageView. After drawing markup, get the drawn markups as an image from PencilKit and draw it as an overlay on our selected image.
On comparing both the approaches we found that the second approach is more suitable and feasible.
Implementation
To start with the implementation we need to import PencilKit into our project #import PencilKit. We need to create a CanvasView to draw with PencilKit and an ImageView. So we created a ViewController with 3 properties, an ImageView, a CanvasView, and an Image.
@IBOutlet weak var imgView: UIImageView!
var canvasView: PKCanvasView!
var imgForMarkup: UIImage?
Now we will initialize the CanvasView and add it as subview. We will do it in ViewDidAppear Method :
self.canvasView = PKCanvasView.init(frame: self.imgView.frame) self.canvasView.isOpaque = false self.view.addSubview(self.canvasView)
Per our requirements, we have to place a transparent CanvasView over an ImageView. Here we have to consider that ImageView frame will cover the full screen of the device but different Images showing in the ImageView will have different height and width ratios. That means the image will appear over some part of the ImageView and the rest of the ImageView rect will remain vacant. We need to draw markups, only over the Image, and not over the vacant spaces outside the Image rect. So we need to resize our CanvasView to our image’s visible rects every time we load the controller and in case if device’s orientation is changed. For doing this we will set the frame of our CanvasView respective of the image.
self.canvasView.frame = self.setSize()
func setSize() -> CGRect { let containerRatio = self.imgView.frame.size.height/self.imgView.frame.size.width let imageRatio = self.imgForMarkup!.size.height/self.imgForMarkup!.size.width if containerRatio > imageRatio { return self.getHeight() }else { return self.getWidth() } }
func getHeight() -> CGRect { let containerView = self.imgView! let image = self.imgForMarkup! let ratio = containerView.frame.size.width / image.size.width let newHeight = ratio * image.size.height let size = CGSize(width: containerView.frame.width, height: newHeight) var yPosition = (containerView.frame.size.height - newHeight) / 2 yPosition = (yPosition < 0 ? 0 : yPosition) + containerView.frame.origin.y let origin = CGPoint.init(x: 0, y: yPosition) return CGRect.init(origin: origin, size: size) }
func getWidth() -> CGRect { let containerView = self.imgView! let image = self.imgForMarkup! let ratio = containerView.frame.size.height / image.size.height let newWidth = ratio * image.size.width let size = CGSize(width: newWidth, height: containerView.frame.height) let xPosition = ((containerView.frame.size.width - newWidth) / 2) + containerView.frame.origin.x let yPosition = containerView.frame.origin.y let origin = CGPoint.init(x: xPosition, y: yPosition) return CGRect.init(origin: origin, size: size) }
After setting CanvasView frame we will add PencilKit’s tool picker to our CanvasView
self.canvasView?.drawing = PKDrawing()if let window = self.view.window, let toolPicker = PKToolPicker.shared(for: window) {
toolPicker.setVisible(true, forFirstResponder: self.canvasView)toolPicker.addObserver(self.canvasView)self.updateLayout(for: toolPicker)self.canvasView.becomeFirstResponder()}
We can also add a clear button to clear all the markups drawn over the CanvasView. Then, we can set IBAction of the button as,
@IBAction func onClear(_ sender : UIButton) { canvasView.drawing = PKDrawing() }
With this implementation, we can draw Markups, only with Apple Pencil. We need to set one more property of CanvasView to make it work with our Finger, considering not every user has Apple Pencil.
self.canvasView.allowsFingerDrawing = true
So now we can draw over the image using our finger as well. Now after all the above steps, our Image Markup ViewController will work like :
After editing we have to save the image with the drawn Markups. For this, we will get an output image of our drawing using PencilKit. The output image we get from PencilKit will be in PNG format with transparency. After that, we will draw the PNG image as an overlay on our selected image. For this we have a function :
@IBAction func saveDrawing(_ sender : UIButton) {var drawing = self.canvasView.drawing.image(from: self.canvasView.bounds, scale: 0)if let markedupImage = self.saveImage(drawing: drawing){// Save the image or do whatever with the Marked up Image......}...self.navigationController?.popViewController(animated: true)}func saveImage(drawing : UIImage) -> UIImage? {let bottomImage = self.imgForMarkup!let newImage = autoreleasepool { () -> UIImage inUIGraphicsBeginImageContextWithOptions(self.canvasView!.frame.size, false, 0.0)bottomImage.draw(in: CGRect(origin: CGPoint.zero, size: self.canvasView!.frame.size))drawing.draw(in: CGRect(origin: CGPoint.zero, size: self.canvasView!.frame.size))let createdImage = UIGraphicsGetImageFromCurrentImageContext()UIGraphicsEndImageContext() return createdImage!} return newImage}
From saveImage(drawing:) method we will get a Markedup Image that we can save in the device or share it as per our requirement.
Limitations
However, with so many things coming out of the box, you don’t have a lot of flexibility for customization. For instance, several things I’ve encountered are:
- It’s challenging to customize the tool picker.
- You can’t get a list of all strokes that the drawing is consisted of.
- You get only an image representation of your drawn markups.
Conclusion
PencilKit is a new framework, which provides a lot of drawing functionality out-of-the-box and it’s easy to get started and to integrate it in an app. PencilKit works seamlessly with Apple Pencil and it has high precision and low latency. With PencilKit, instead of re-inventing the wheel, you can focus on your app’s unique features.
There is a lot to love about it, so we hope Apple will overcome limitations in PencilKit in next iOS release.